
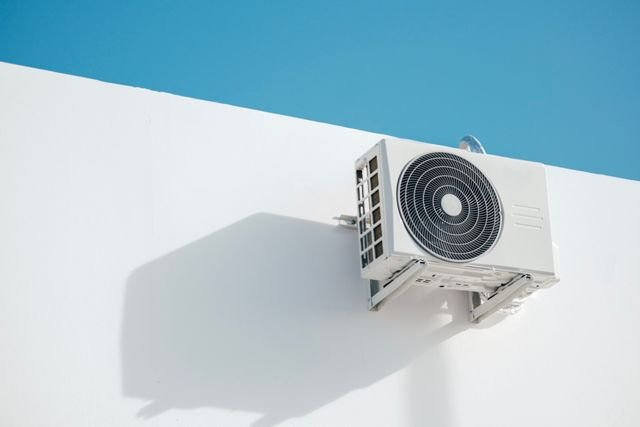
Choose a spot that stays open after the driveway is plowed and the roof sheds snow. The outdoor unit of a mini split heat pump needs airflow, a way for defrost water to drain, and room for service. The corner that looks most convenient in July may be where a snowbank sits until March.
For an ultra heat mini split, treat the low-temperature heating specifications and the outdoor placement as two separate parts of the project. Bring photos from a snowy day to the installer. Snow piled along a garage wall, ice under a downspout, and the spot where roof snow lands are easier to discuss when you can point to them.
Look for Snowdrifts and Falling Roof Snow
Walk around the house and mark where snow collects after a storm. Check the leeward side of fences and walls, the end of the driveway, and the places you usually clear with a shovel or snowblower. A spot can be well sheltered from one direction and still fill with drifting snow. Use what happens on your property as the starting point for the discussion.
Look up as well as down. Snow can slide from a roof onto equipment or fill the area in front of it. An inside corner can also collect snow from more than one roof surface. Point out gutters that overflow or downspouts that create ice nearby. Ask the installer to identify a site clear of those paths and to confirm any proposed shelter is compatible with the manufacturer’s clearances.
How High Should the Unit Sit?
Have the installer evaluate how high snow usually builds up at the proposed location and how much can accumulate in a heavier storm. Use the manufacturer’s mounting and clearance instructions for the exact model. The distance from the unit’s base to bare ground is only one part of the plan. The opening for airflow and the space for drainage need to remain usable with snow on the ground.
Look at the surface beneath the stand or bracket. The installer should account for site conditions, including whether a base can stay level and support the equipment through winter. Ask how you’ll reach the area to clear loose snow after a storm. A high mounting location can solve one problem and make service more difficult if there’s no practical access.
Keep Defrost Water Away From Walkways
During heating, frost can build on the outdoor coil. When the system defrosts, that frost can melt and drain below the unit. In cold weather the runoff may freeze again. Watch where water already goes during a thaw. A sloped sidewalk, a basement stair, or a narrow path to the trash cans can become an icy route if it ends up under the equipment.
Ask where the installer expects water to drain and whether the manufacturer has specific instructions for the base or any drain accessory in freezing conditions. The plan should leave room for drainage and give you access to observe ice buildup. Check the area after the first freeze-thaw cycle. Share photos with the installer if ice repeatedly builds close to the unit or spreads onto a walking surface.
Leave Space for Airflow and Winter Service
Ask the installer to mark the required clearances for the exact model. Then imagine the space after a week of snow. The fence, shrubs, and driveway snowbank still need to leave the air inlet and discharge areas open. A temporary winter cover can interfere with operation. Ask the manufacturer or installer about any proposed protective structure before relying on it.
After the first storm, check the area from a safe distance and make a note of where the snow ended up. Clear loose snow around the equipment as allowed by the manufacturer. Leave ice attached to the coil or fan alone and call for service if it builds up or the unit stops working. Those first few storms show whether your usual shoveling route needs to change.
Give the service technician a realistic approach. They may need to reach a panel on a different side from the one you see from the yard. Check that the route stays usable when the gate sticks or snow piles up beside the stairs. Plan where you’ll move cleared snow so it stays out of the unit’s airflow path and away from the service area.
Would a Stand or Wall Bracket Fit?
Compare the two mounting options at the site. A raised stand may work where there’s space for a stable base and good access around the unit. A wall bracket may help where a ground stand would sit in deep snow. Ask how the wall would support the bracket and whether vibration could be noticeable in a bedroom on the other side.
Before signing off on the placement, walk the path you use after a storm and look at where the snow and meltwater will go. The installation drawing should show the mounting height, clearances, drainage area, and service approach. That’s enough detail to judge whether the spot will still work in February.